html
[JavaScript/HTML] 2. SunEditor 텍스트 에디터 만들기 및 텍스트 편집기 만들기
※ 본 게시글의 소스코드는 디자인, UI, UX 에 전혀 신경쓰지 않은 점 참고해주세요.
※ 본 게시글은 서버단으로 데이터를 보내 처리하는 내용은 포함되지 않았습니다.
지난 게시글에선 SunEditor를 소개했는데 이번 게시글에선 간단하게 SunEditor 적용 후 서버로 에디터 적용한 텍스트를 웹에서 보내고 받는것을 해볼려고 한다.
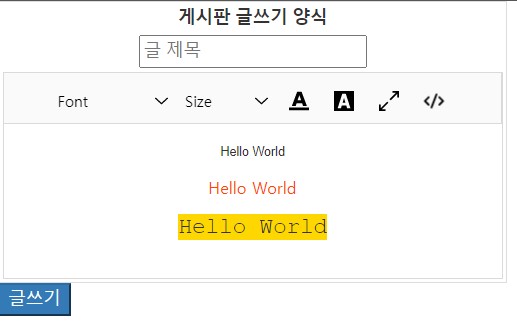
아래 소스코드만 이용해도 위 사진과 같이 간단하게 텍스트 에디터를 만들 수 있다. 먼저 아래 첨부파일을 다운받아 SunEditor에 필요한 css파일과 js 파일을 자신의 프로젝트에 넣고 그에 맞춰서 소스도 수정해준다.
[html] SunEditor 소스 코드
|
1
2
3
4
5
6
7
8
9
10
11
12
13
14
15
16
17
18
19
20
21
22
23
24
25
26
27
28
29
30
31
32
33
34
35
36
37
38
39
40
41
42
43
44
45
46
47
48
49
50
51
52
53
54
55
56
57
58
59
60
61
62
63
64
65
66
67
68
69
70
71
72
73
74
75
76
77
78
79
80
81
82
83
84
85
86
87
88
89
90
91
92
93
94
95
96
97
98
99
100
101
102
103
104
105
106
107
|
<!DOCTYPE html PUBLIC "-//W3C//DTD HTML 4.01 Transitional//EN" "http://www.w3.org/TR/html4/loose.dtd">
<html>
<head>
<meta http-equiv="Content-Type" content="text/html; charset=UTF-8">
<meta name="viewport" content="width=device-width", initial-scale="1">
<!-- ********************* 자신의 프로젝트에 맞춰서 경로 수정 필요 ****************************** -->
<!-- SunEdtor css -->
<link rel="stylesheet" href="css/bootstrap.css">
<link rel="stylesheet" href="css/suneditor.min.css">
<!-- SunEdtor js -->
<script type="text/javascript" src="js/suneditor.min.js"></script>
<script type="text/javascript" src="js/jquery-3.0.0.min.js"></script>
<!-- ********************* 자신의 프로젝트에 맞춰서 경로 수정 필요 ****************************** -->
<script type="text/javascript">
$(function(){
SUNEDITOR.create('content',{
font : [
'Arial',
'tahoma',
'Courier New,Courier'
],
fontSize : [
8, 10, 14, 18, 24, 36
],
colorList: [
['#ccc', '#dedede', 'OrangeRed', 'Orange', 'RoyalBlue', 'SaddleBrown'],
['SlateGray', 'BurlyWood', 'DeepPink', 'FireBrick', 'Gold', 'SeaGreen']
],
width: '100%',
maxWidth: '600px',
minWidth: 400,
height : 'auto',
imageWidth : 150,
popupDisplay: 'local',
resizingBar: false,
buttonList : [
['font', 'fontSize',
'fontColor', 'hiliteColor',
'fullScreen', 'codeView']
],
callBackSave: function (contents) {
alert(contents);
}
});
});
// 글쓰기 버튼
function saveButton(){
if(document.getElementById("title").value === "" ||
document.getElementById("title").value == null ){
alert("제목을 입력해주세요");
return false;
}
// 자신의 프로젝트에 맞춰서 경로 수정 필요
$.ajax({
url: "/board/noticeRegist",
type: "post",
data: {
title : document.getElementById("title").value,
content : $('.sun-editor-editable').html(),
} ,
// dataType: "json",
error : function(request, status, error){
alert('등록 실패');
console.dir(request);
console.dir(status);
console.dir(error);
},
success : function(result){
alert("등록이 완료되었습니다.");
// 자신의 프로젝트에 맞춰서 경로 수정 필요
location.href="/board/noticeList";
}
});
}
</script>
<title>글쓰기</title>
</head>
<body>
<div>
<div>
<table style="text-align: center; border: 1px solid #dddddd">
<thead>
<tr>
<th colspan="5">게시판 글쓰기 양식</th>
</tr>
</thead>
<tbody>
<tr>
<td colspan="5" ><input type="text" id="title" class="form-control" placeholder="글 제목" name="title" maxlength="50"></td>
</tr>
<tr>
<td colspan="5" ><textarea class="form-control" id="content" placeholder="글 내용" name="content" maxlength="2048" style="height:350px;"></textarea></td>
</tr>
</tbody>
</table>
<button id="saveButton" type="submit" class="btn btn-dark" onclick="saveButton()">글쓰기</button>
<br>
</div>
</div>
</body>
</html>
|
cs |
위 소스 간단하게 설명하면
SUNEDITOR.create('content',{
});
1. 아래 SUNEDITOR.create 함수가 에디터를 적용해주는 핵심 함수이다. textarea id (='content')를 넣어주면 에디터가 적용된다.
2. 이 함수에서 SunEditor의 다양한 기능들을 넣고 뺄 수 있다. 그 방법에 대해서는 공식 홈페이지 예제를 통해서 자세하게 알 수 있다.


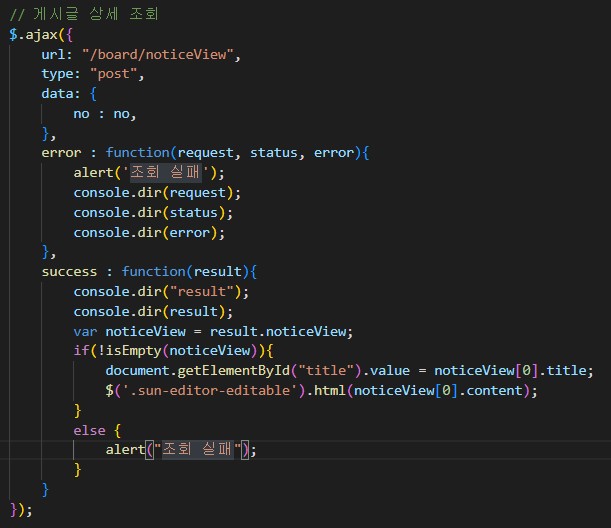
$('.sun-editor-editable').html(),
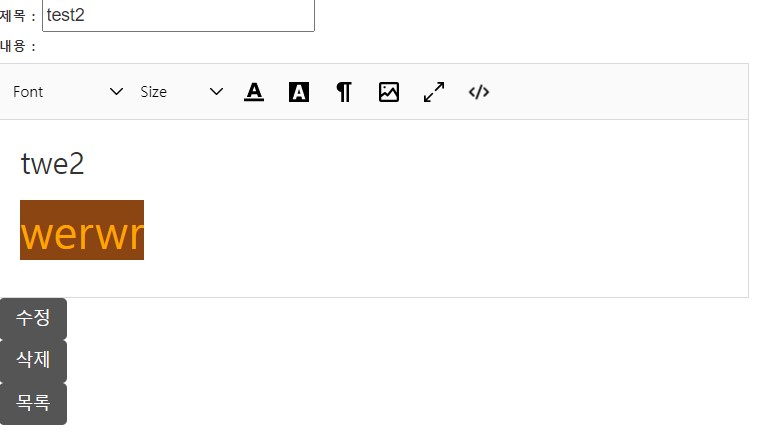
위 소스 예제에서는 내용을 가져올때 위와 같이 html로 가져오는데 텍스트 에디터 적용된 모습을 개발자 도구로 보면 sun-editor-editable class로 적용된 모습을 볼 수 있어서 html를 가져와 db에 저장한 후 뷰로 불러와 아래 소스코드와 같이 넣어주면 바로 에디터가 적용된 모습을 가져올 수 있다.
'프로그래밍 > JavaScript' 카테고리의 다른 글
| [JavaScript/HTML] 1. SunEditor 텍스트 에디터 라이브러리 소개 (0) | 2022.06.24 |
|---|
[JavaScript/HTML] 1. SunEditor 텍스트 에디터 라이브러리 소개
1. 소개
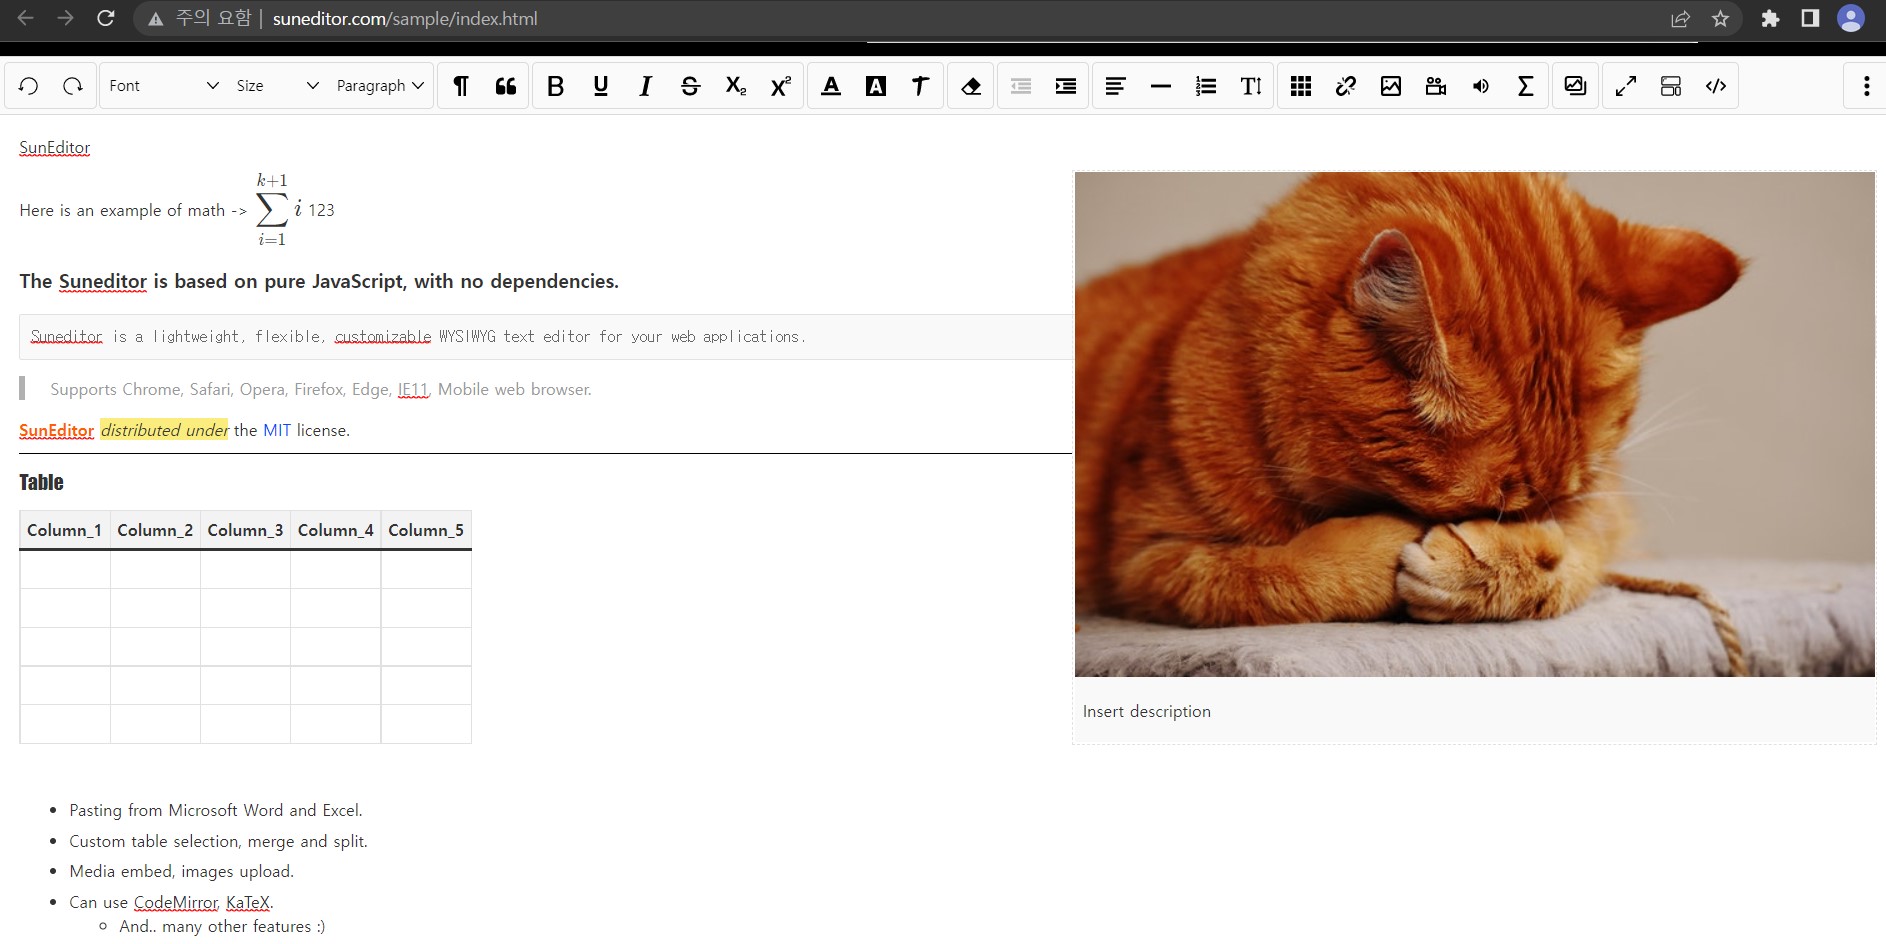
SunEditor는 JavaScript로 구현되어 있는 텍스트 에디터 라이브러리이다. 또한 이 라이브러리는 MIT 라이센스로 되어 있어서 수정, 배포가 자유롭고 상업적으로 마음껏 배포해도 되는 라이센스이다. 단, 저작권 표시해주어야 한다.
MIT 라이센스에 대해서 더 알고 싶으신 분은 > 링크 < 를 클릭해주세요.
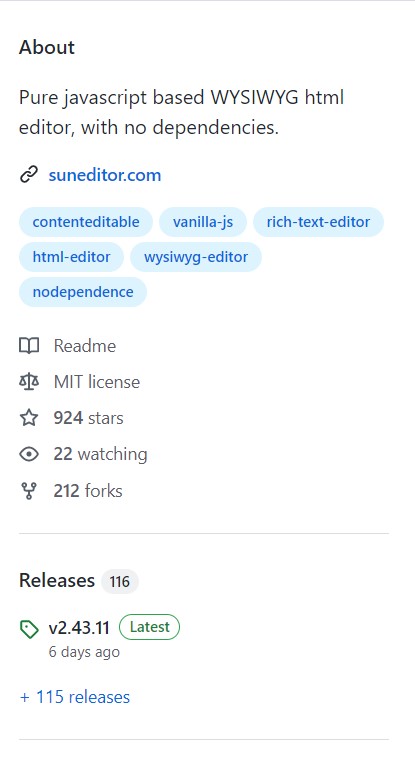
또한 6월 24일 기준 현재까지도 Git 꾸준하게 오픈 소스로 업데이트 되고 있다.
2. 브라우저 지원

윈도우 10 기준으로 IE 11도 지원 종료되어서 사실 상 어느 브라우저에서도 사용 가능한 텍스트 에디터다.
3. 문서 및 공식 사이트
SunEditor 소스 및 공식 Git
GitHub - JiHong88/SunEditor: Pure javascript based WYSIWYG html editor, with no dependencies.
Pure javascript based WYSIWYG html editor, with no dependencies. - GitHub - JiHong88/SunEditor: Pure javascript based WYSIWYG html editor, with no dependencies.
github.com
SunEditor 공식 예제 : > 링크 <
'프로그래밍 > JavaScript' 카테고리의 다른 글
| [JavaScript/HTML] 2. SunEditor 텍스트 에디터 만들기 및 텍스트 편집기 만들기 (0) | 2022.06.27 |
|---|